How to conduct gas in the bathhouse from home: the subtleties of gasification of the bath
Have you never considered how much it costs to heat a bath with gas? According to the most conservative estimates, compared with firewood and electric heating, the savings are 40 percent. Especially noticeable cost reduction if the bath is large. Most often, this method is used by owners of gasified areas, since it is not difficult to bring gas to the bathhouse from the house, and the constant change of cylinders is a labor-intensive measure.
The extension of the gas duct to the bath should be subject to the requirements of the law. Already at the design stage, you need to attract professionals, since a special permit is required to launch. When issuing such permits, experts take into account the specifics of the project, the location of the bathhouse on the site, the conditions for the safe placement of pipes, the origin of the equipment and much more.
In order to draw up an algorithm for competent gasification of the bath, we familiarized ourselves with legislative acts, advice from gas producers, and user observations. The result was a detailed action plan that takes into account all installation and operation rules.
The content of the article:
Advantages and disadvantages of gasification baths
Before deciding to carry gas to the bath, the owners of suburban areas try to take into account all the features of this method. The cost of operation, environmental friendliness, complexity of care, efficiency are taken into account.
Pros of using blue fuel
In addition to significant savings, the advantages of this method include the hygiene of the gas - when burning there are no smells, soot, soot. In addition, a gasified bath warms up almost twice as fast.
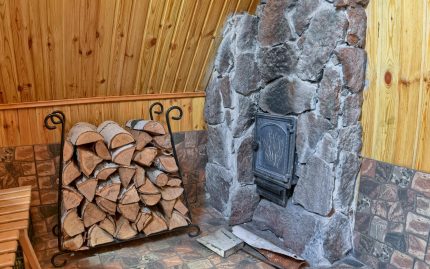
A big plus is the automation of the process. For kindling requires a minimum of labor from the owner. Together with the cheapness of gas, this advantage makes the gasification of the baths especially attractive.
Cons noticed by owners and professionals
According to the owners, the main drawback is the difficulty in obtaining permission: at the slightest inaccuracy, the commission prohibits the use of gas to heat the bath.
Other cons include:
- the need to pay for the work of installation specialists;
- high cost of equipment;
- restrictions on the choice of a sauna project.
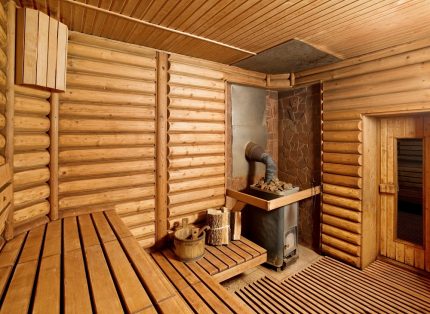
Another subjective observation concerns the lack of smell. Many people appreciate the aroma that spreads over a heated room during the combustion of wood. Gas equipment eliminates this possibility.
The requirements of the law for the project, equipment, installation
Basic laying requirements gas pipes inside the bath, the design of the furnaces and the room parameters are prescribed in SNiP 2.04.08-87.
The arrangement of the external gas pipeline and the connection features are regulated SNiP 42-01-2002.
Terms of approval of the project by technical supervision
It’s extremely rare that bath owners manage to coordinate gas wiring, since their buildings do not meet the requirements. It is more correct to first create a project, and then proceed with construction. Moreover, the construction should be located on a capital foundation.
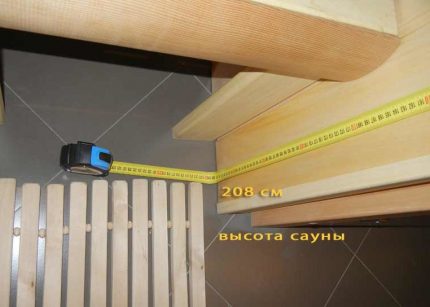
The main criteria are the availability of an emergency exit, transom for ventilation or exhaust ventilation duct, sufficient area. The volume of the room where the furnace is located should be more than 8 cubic meters. And the passage next to it cannot have a width of less than a meter.
Attention is also paid to the doors - each of them must open outward, have functional handles on both sides. The doors themselves can only be made of non-combustible materials. All this is taken into account when agreeing.
Equipment Selection Criteria
Not all types of furnaces are suitable for installation in gasified baths. Only factory-made metal products are permitted, the design of which allows the removal of combustion products into the chimney. Stone and brick-fired stoves are prohibited. Important points are the presence of a fuse that blocks the flow of fuel when the fire is extinguished and the tightness of the gas chamber.
It is worth noting that leading Russian manufacturers such as Ermak, Thermofor, Teplodar produce authorized models with excellent automation and high-quality components. While the products of European plants are not always successfully tested.

Maintenance of the furnace should not be done in the steam room, but in the dressing room. Therefore, a remote fuel channel must be present in the design.
Particular attention is paid to the type of nozzles: when using the main gas supply, extended nozzles are required, for the use of the propane mixture from the cylinder, narrowed.
Rules for installing a gas pipeline, furnace, chimney
Installation rules include requirements not only for gas pipeline, but also to the installation of a fire alarm. Highly sensitive carbon monoxide sensors can play this role.
The output of the pipe from the house should rise 2 meters above ground level and enter the dressing room at the same height. Laying under and inside the foundation is prohibited.
At the end of the pipe, a crane is installed, which, when the equipment is depressurized, will instantly provide complete gas line shutdown.

Particular attention is paid to the placement of furnaces. The wooden walls next to them must be insulated with non-combustible materials. An acceptable option is lining with thermal insulation and steel sheet.
The fireproof distance from the insulated wall to the product body is 60 cm. All other objects, floors, wall shelves should be at least 110 cm from the walls of the stove.
The support base of the furnace should also be made of refractory material, protruding beyond the boundaries of the product by 10 cm or more. Connecting the stove to the chimney is permitted only with steel pipes.
The installation of the chimney itself is also regulated. In places of passage through the floors and walls of the bath, it is necessary to lay fire cutting.
Expanded clay is often used for this purpose. Bulk material easily fills the space, has high refractory characteristics.
Paperwork and obtaining permission
We already mentioned that before the start of construction it is worth checking the project and clarifying whether it is possible to conduct gas in the bathhouse as intended by the owner. If everything is in order, you can begin construction. Permission to build a bath is not necessary. It is received only if the bath is registered as garden house.
Then documents are prepared to obtain consent for gasification:
- application for the provision of technical conditions;
- passport and title documents of the owner of the site;
- calculation of maximum consumption in one hour;
- site plan or diagram;
If the pipeline is privately owned, then the consent of the owner must be attached. After issuing the technical specifications by the gas distribution company, it is necessary to make adjustments and invite the inspector of the gas service.
If the building is compliant, he will issue a permit forgas flow and equipment layout.

You can do the same with the old bathhouse already built on the site. It is possible that in order to bring it into a proper state, it will only be necessary to organize additional window openings and an emergency exit.
True, practice shows that the percentage of obtaining permits in such cases is extremely low.
The procedure for conducting gas, practical tips
The preparatory stage is the purchase of pipes, supplies and gas equipment. In order to gasify the bathhouse according to the rules, it is necessary to check the design and the received technical conditions.
The documents contain a calculation of the length of the pipes, an indication of their diameter, as well as the name and brand of permitted equipment. Experienced users are advised to purchase pipes and consumables with a margin of 30 percent.
Stage No. 1 - installation of an external gas pipeline
Since it is recommended that the installation of an external gas pipeline be performed above-ground, reliable support will be required to fix the pipes. They must raise the gas duct above the ground by at least two meters.
The following requirements are imposed on the supports:
- the distance between the supports is determined by the project;
- structural strength should be calculated based on the own mass of the gas duct and the weight of the possible ice with a coefficient of 1.2;
- the fastening part must correspond to the design dimensions of the pipe.
If the project indicates the installation of a gas pipeline with a slope, you can mount metal gaskets between the soles of supports and embedded structures. The installation of such gaskets between the pipe and the support is prohibited.
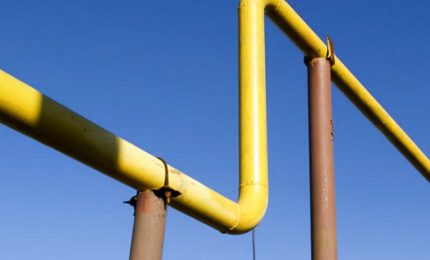
To protect against the effects of wet precipitation, the outer pipe is painted with bright yellow oil paints. The employees of the gas company, who undertook the installation, are engaged in this.
But after their departure, many summer residents repaint the pipes in other colors that are suitable for the main palette of the site. Doing this is prohibited.
Stage number 2 - laying pipes inside
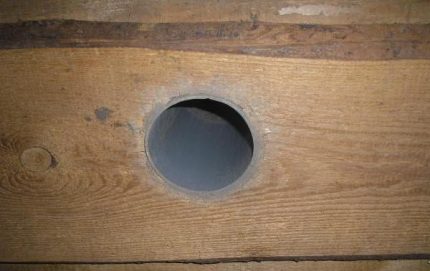
The internal gas pipeline should also consist of metal pipes. In the places of passage through the walls, it is necessary to drill holes and mount embedded iron sleeves in them. Laying pipes through walls is allowed only through such sleeves.
When gasifying wooden buildings, this is extremely important, since any wood shrinks over time. And this is fraught with damage to the unprotected gas duct.
Fastening should be carried out using the products specified in the design. It is better to purchase fasteners in specialized stores, as in ordinary retail outlets, analogues that do not meet the requirements are often offered.
To realize turning points, it is important to use induction pipe bender - a device that allows you to change the angle by 90 degrees. The manual bending method with heating is not suitable in this case, since it can disrupt the metal structure.
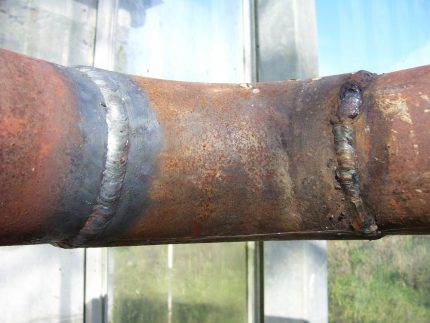
At the points where gas equipment is connected, the end of the pipe is threaded. Filters are mounted on this thread and stop valves are installed. During the final crimping, the specialist must check the tightness of these joints and the integrity of the welds.
It is important to ensure that the gas pipes inside the bath do not intersect with the electrical wire. The minimum distance between them is 10 cm. If a water supply or sewerage system is installed in the bathhouse, it is necessary to maintain a distance between them and the gas pipeline branch of 2 cm.
Stage number 3 - installation of the chimney
We have already stopped on the rules for installing a gas furnace. Therefore, the next step is the organization of the chimney. Gas companies also have special requirements for it.
During installation, it is recommended to follow:
- the absence of pipe joints in the ceilings - it is necessary to mount the chimney so that the connections are located above or below the ceiling;
- the location of the pipes relative to the flammable elements of the building - the distance between them should not be less than 1 meter.
Over a flat roof, the chimney can protrude 1.2 meters or more. Above the roof with slopes, the minimum elevation is 0.5 meters.
Conclusions and useful video on the topic
Having collected information on how to properly conduct gas to the bathhouse, we found out that the law imposes strict requirements on the project, equipment parameters and gas pipeline installation conditions. Self-design and connection is prohibited. Therefore, from the moment the idea was born, it is worth getting the advice of professionals.
In the video, a representative of one of the gas companies tells how to get permission to gasify residential and non-residential premises, lists the main stages and necessary documents:
If your bathhouse is already gasified and you have something to share with other owners of suburban estates, we invite you to participate in the discussion. In the form below you can ask questions, tell about your experience, comment on key points. Use the chance to get useful information!

 Autonomous gasification of a private house: arrangement of a gas supply system for cylinders and a gas tank
 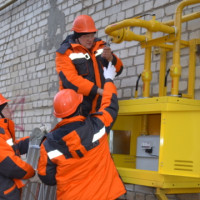 Gasification of a country house: stages of connecting the cottage to the main gas pipeline
 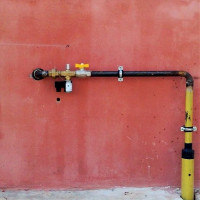 Laying a gas pipeline in a case through a wall: the specifics of a device for introducing a pipe for gas into a house
 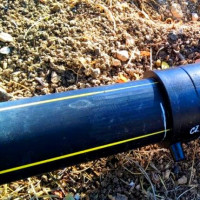 Polyethylene pipes for a gas pipeline: types and specifics of laying pipelines made of polyethylene
 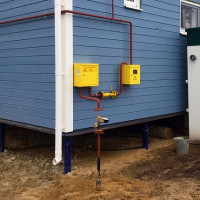 Gas pipeline exit from the ground: requirements and features of the arrangement of the exit node
  How is gas connected to a private house: input device + system installation
  How much does it cost to connect gas to a private house: the price of organizing gas supply
  The best washing machines with dryer: model rating and customer tips
  What is the color temperature of light and the nuances of choosing the temperature of the lamps to suit your needs
  Replacement of a geyser in an apartment: replacement paperwork + basic norms and requirements