Bathroom sink with pedestal: installation and connection technology
The aesthetics of the shell, made in the form of a tulip, the stability and practicality of this type of sanitary ware attracts many owners of urban apartments and suburban housing. True, the cost of the device plus the assembly price with the connection somewhat cools. Do you agree? However, there is a way to reduce costs - do-it-yourself installation.
In the article we presented, varieties of a convenient and beautiful type of plumbing equipment are considered. We will tell you how to mount and fix a washbasin for a bathroom with a pedestal. For independent masters, the technology for connecting a popular plumbing bowl with a supporting leg to communications is described in detail.
The content of the article:
Benefits of a pedestal sink
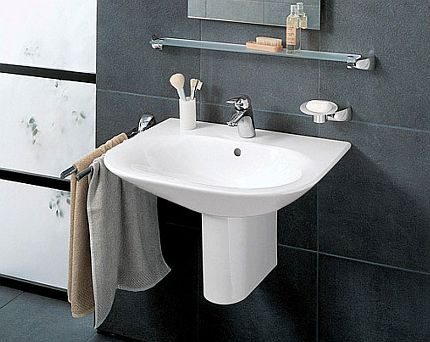
A kind of shell with a pedestal or pedestal is also called a tulip because of the similarity of their appearance with the flower of the same shape and beauty.
Despite the simplicity of design, the design options for this equipment are enough to harmoniously fit it into any modern interior.
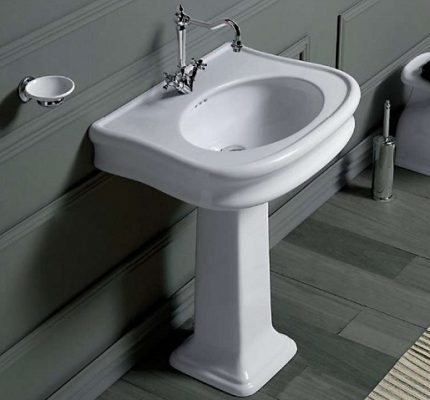
For centuries, tulip shells are popular with people due to such positive properties:
- Versatility. A sink with a pedestal can be placed in any corner of the bathroom due to the diversity of its shape, color and size.
- Compactness. The parietal nature of the sink allows to minimize the occupied space, and the space under the sink can be used for additional shelves.
- Aesthetics. The pedestal hides unsightly sewer and plumbing communications.
- Financial availability. The material of the sinks can be different in cost, but most of the assortment is budget kits.
- Easy installation. Most models are attached to the wall with two bolts, and the pedestal is not fixed at all with fasteners, remaining sandwiched between the sink and the floor.
Most of the drawbacks of pedestal sinks are due to their workmanship: earthenware and glassware are quite fragile and susceptible to shocks, while metal and enamelled ones can change color when poorly maintained.
Types of sinks and pedestals for the bathroom
Any sink is a bowl, which can have several holes: for the lower drain, for installing a tap and for lateral drainage of excess water. Each manufacturer implements its own engineering solutions in the models, so there are no clear-cut options on how to install a sink with a pedestal.
Attachment classification
Five main types of sinks can be distinguished according to the fastening mechanism and decorative design of communications.
Mortise. Such a sink is mounted in a stationary countertop in two ways:
- top;
- lower.
At the upper mount, only the neck of the sink enters the countertop, and its main part is located above the countertop. With a lower arrangement, the appearance of the sink is similar to a kitchen sink, in which only the locking edge protrudes above the countertop.
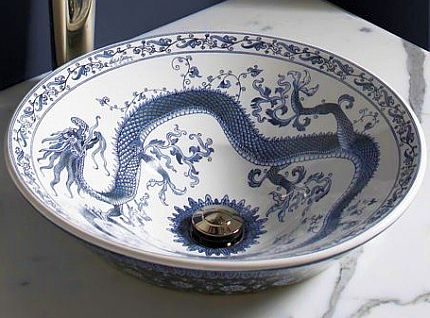
Outboard (cantilever) Such bowl bowls are mounted directly to the wall with bolts or with brackets. Their communications remain open below or hide subsequently in locker-like lockers.
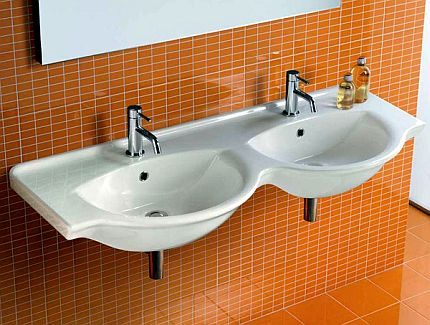
Sinks with pedestal. They differ from suspended ones by the presence of a special pedestal that provides additional support and aesthetically hides all communications.
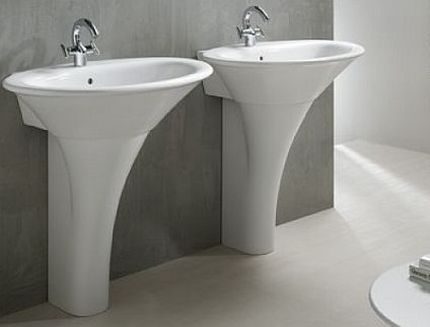
Semi-pedestal sinks. The difference between a half-pedestal and a pedestal is that the first has a short length and does not reach the floor. The semi-pedestal is mounted independently under the sink and performs only a decorative role for hiding pipes and a siphon.
Furniture. Sinks of this type have an individual form of fixtures, which is suitable only for the furniture that comes with them.
Most furniture sinks are expensive and are made only by renowned brands.
About how to choose a sanitary sink for installation in the bathroom by size, described in detail in articlewhich we recommend that you familiarize yourself with.
Varieties of shell material
The cost of products largely depends on the appearance of bathroom sinks and the material of their manufacture. You can buy a cheap enameled sink, but it certainly won’t add beauty to the bathroom.
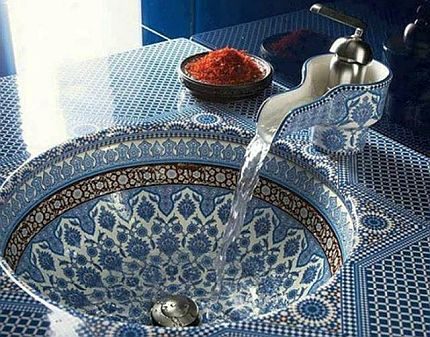
The most common materials for modern sinks are:
- Faience. The cheapest and most unpretentious material most plumbing is made of. Its disadvantage is a discoloration of the coating and the appearance of microcracks after several years of operation.
- China. Unlike faience, porcelain products undergo a two-stage burn, therefore they have a more snow-white coating, the color of which practically does not change over the years.
- Porcelain Tiles or fake diamond. The advantage of this material is its strength, stable parameters of the external coating and ease of removal of coloring substances when they hit the surface.
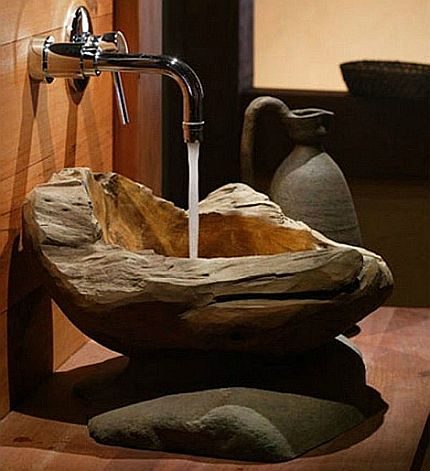
- A natural stone. This is an expensive image material, the shells from which it is rational to install in the interior of natural materials. Its disadvantage is the presence of microcracks on the surface, which is why it is practically impossible to remove the coloring matter that has fallen onto the surface.
- Glass. Glass sinks can be made in any color. They are more expensive than faience, but cheaper than artificial stone. Water stains are very visible on the glass surface, therefore, to maintain its beauty, you must regularly wipe the surface with a cloth.
It is possible to make sinks made of steel, copper, plastic and other materials. Their shape can be round, square, angular or oval.
Dismantling old plumbing
In the case of installing a new sink instead of old equipment, it is important to know the sequence of steps to remove old plumbing.
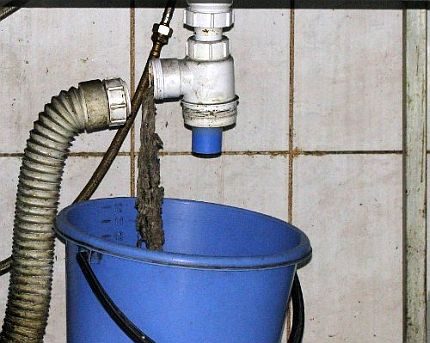
When dismantling the old shell, work is carried out in the following sequence:
- Overlapping water, and tap valves are unscrewed.
- It is removed if there is a pedestal.
- The fastening of the mixer at the bottom of the sink is unscrewed and the tap is removed.
- The siphon is unscrewed from the neck of the sink, water is carefully drained from it.
- The siphon pipe is pulled from the sewer opening, which is closed with a special cork or plastic bag to block unpleasant odors.
- The nuts that fix the sink are unscrewed, and it is removed.
When installing new plumbing, it is advisable not to use old flexible water hoses and a siphon, which can leak during re-installation due to worn rubber gaskets.
Installation of a sink with a pedestal
Having finished dismantling the old plumbing and cleaning the room, you can begin installing a new sink with a pedestal. Next, step-by-step instructions for this process will be considered to better understand the nuances of installation.
Regardless of the design and individual features of the model, the installation of a sink with a pedestal and the connection of communications are carried out in the standard manner:
Step one: Determine the height of the sink. According to SNiP, the height of the upper edge of the sink above the floor should be 80-85 cm. But for tall people it can be increased to 90-95 cm, and if a separate sink for children is installed in a large bathroom, then the height can be reduced to 65-70 cm.
The specific level is decided at the family council, based on the wishes of each person. After the final choosing the height of the sink, a strictly horizontal line is drawn on the wall, which is checked using the building level.
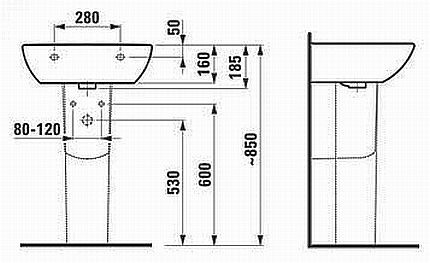
Second step: fitting the sink. A pedestal is placed under the wall, on which a sink is put on top. Its upper edge is aligned with the level drawn on the wall, after which places for drilling mounting holes are marked with a marker at the bottom of the sink. Then the equipment is removed to the side.

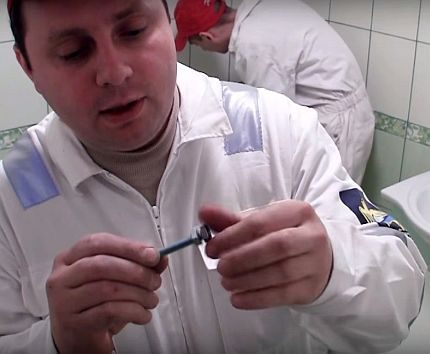
Step three: Installing rods for hanging the sink. In designated areas, holes are drilled to a depth of at least 700 mm. The wall should be made of dense material, and not crumble under the influence of a drill. Unprofitable partitions can lead to sinks and foot injuries.

Fourth step: re-fitting the sink. Similarly to the second step, the equipment is tested taking into account screwed fasteners. If the fasteners are located correctly and the horizontal level is observed, then the sink and pedestal are set aside.
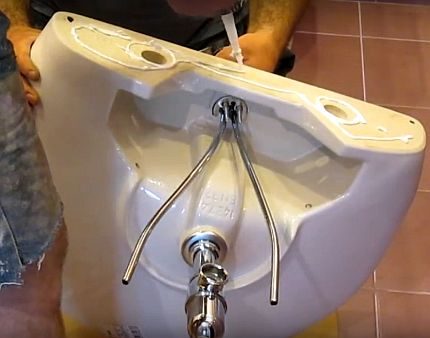
Fifth step: Install a siphon and faucet on the sink. In order not to suffer from a lack of space when installing the faucet and siphon on the already installed plumbing, it is easier to do this before attaching the bowl to the wall.
Each plumbing product is accompanied by a diagram and the sequence of its installation, therefore screwing down the sewer siphon and the crane should not cause difficulties. It is not necessary to lubricate the joints on the openings of the sink with a sealant; in these places, rubber gaskets should be sufficient for sealing.
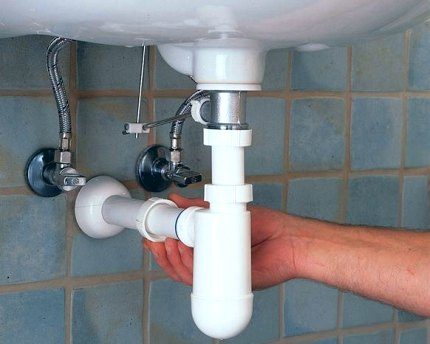
Connecting to the sewer and installing the siphon is carried out in the following order:
Sixth step: sink installation and connecting communications. A sink with a dressed siphon and a tap is hung on the mounting bolts. Between the bowl and the wall, as well as in front of the fixing nut, special soft pads are put on the rods. They prevent chips from ceramic coating when tightening fasteners.
The nuts are slightly tightened by hand, after which they begin to connect the hoses to the water pipes and sewers. After connecting the communications, a test opening of the water is carried out.
Seventh step: Installation of the pedestal. If there are no leaks in the system, then you can substitute the pedestal under the hanging sink. The final tightening of the fixing nuts must be done after aligning the edge of the sink according to the horizontal line drawn on the wall.
Plumbing is ready for use. For decor, you can cover the seam between the sink and the wall with white sealant.
Features of the installation of the semi-pedestal
If a semi-pedestal is chosen as the equipment that closes the communications of the sink, then you need to know about the differences in its installation from the installation of the classic “tulip”.

The first six of the above steps for attaching the sink to the wall and connecting the communications remain unchanged.
Further actions must be carried out in the following sequence:
- Since the semi-pedestal has its own fasteners, then after sink installation it is necessary to try on the product against the wall and mark the locations for drilling bolt holes.
- Drill a wall with a drill and insert into the holes of the dowel.
- Attach the semi-pedestal and screw it to the wall with bolts, placing rubber gaskets between the product and the wall, as well as in front of the fixing nut.
The mass of the sink cannot be transferred to the semi-pedestal, so there is no need to try harder to screw it to the wall.
Conclusions and useful video on the topic
Footage allows you to better connect in your head the parts of the whole, presented in the form of printed text. Therefore, the following videos help create a common vision of the process of installing the sink on the various options for pedestals.
Video # 1. Installing the sink on a pedestal with an additional box:
Video # 2. Sink installation:
Video # 3. Mounting the sink on the cabinet:
The described methods for installing the sink and pedestal, as well as the nuances of their installation will allow you to perform these works yourself. The main thing is to choose the right equipment and connecting parts to it, and the rest can be easily done using the proposed techniques and simple home tools.
Please write comments in the block below. Ask questions, post useful information and photos on the topic of the article. Or maybe you want to share your personal experience in installing a sink with a pedestal?

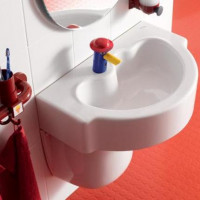 Bathroom sink height: standards and best wiring diagrams
 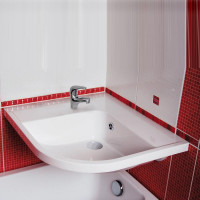 Hanging bathroom sink: step-by-step installation instructions
 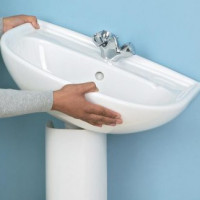 How to install a sink with a pedestal: step-by-step installation instructions
 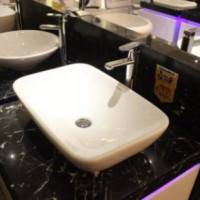 Countertop washbasin: features of selection and installation
  Countertop built-in sink: installation diagrams and analysis of installation features
  Small bathroom sinks: the nuances of choice and installation + photo selection of ideas
  How much does it cost to connect gas to a private house: the price of organizing gas supply
  The best washing machines with dryer: model rating and customer tips
  What is the color temperature of light and the nuances of choosing the temperature of the lamps to suit your needs
  Replacement of a geyser in an apartment: replacement paperwork + basic norms and requirements
In the old small apartment in our bathroom there was a sink with a curbstone. And when we moved to our private house, we had a large hotel bathroom, in it there was a place for a sink with a pedestal and a separate cabinet for all the accessories that had previously been in the cabinet under the sink. Of course, with a pedestal, the view is much more beautiful, only this option is suitable for a large area.
Be sure to check the sink in the store for cracks and chips. Make sure that it itself is symmetrical and the mounting holes on it are made with high quality, without notches. The installation itself, although not too complicated, can cause inconvenience to a beginner. But such sinks look beautiful and original, especially design ones. It's always nice to look at something different from the standard.
In principle, there is nothing difficult in installing such a sink yourself. It is enough to have the right tools and straight arms. If any of this is missing, it is best to contact professional installers. They have tools, but straight arms are not always. Therefore, I do everything myself. Himself nakosyachil himself corrected. And there is no one to claim - beauty.